

Table of contents
Do you have experience using React UseState Hook? Have you heard of useState in React, but you've put off learning it because it looks very complicated and all the guides seem overwhelming? If that's happened to you, this is the article for you! Come along with me on this relatively painless journey.
PREREQUISITES
You must already know how to use React for this tutorial, as I will not be explaining any aspects of React itself.
Familiarity with HTML & CSS.
Familiarity with ES6 syntax and features.
Knowledge of React terminology: JSX, State, Components, Props, Lifecycle and Hooks
GOALS
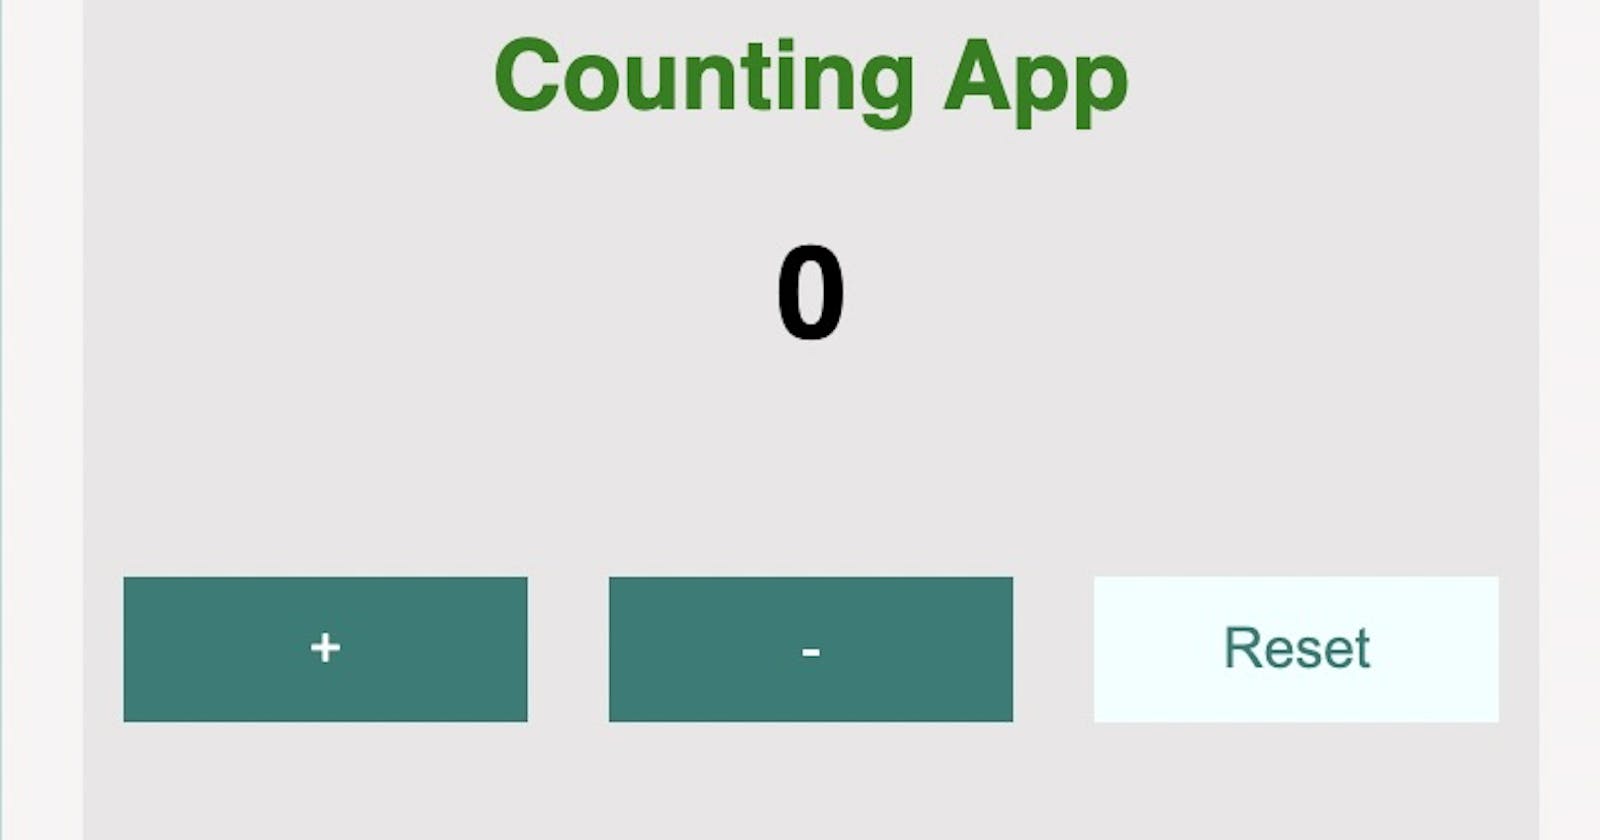
In this tutorial, we will build a single-page counter app. Here are the links to the source and demos of the app.
Counter Application
Getting Started
ReactJs is a frontend, open-source javascript library that is used to create interactive User Interfaces (UI). It is developed and maintained by Facebook. It can be used for the development of single-page applications and mobile applications.
Installation
For ease of getting started quickly, my example uses Create React App to set up the environment.
Step 1: Create a React application using the following command:
yarn create react-app counter-app
Step 2: After creating your project folder i.e. counter, move to it using the following command:
cd counter-app
Step 3: After navigating to the project directory(folder), then open the directory using the following command:
code .
Putting Content in Our App.js file
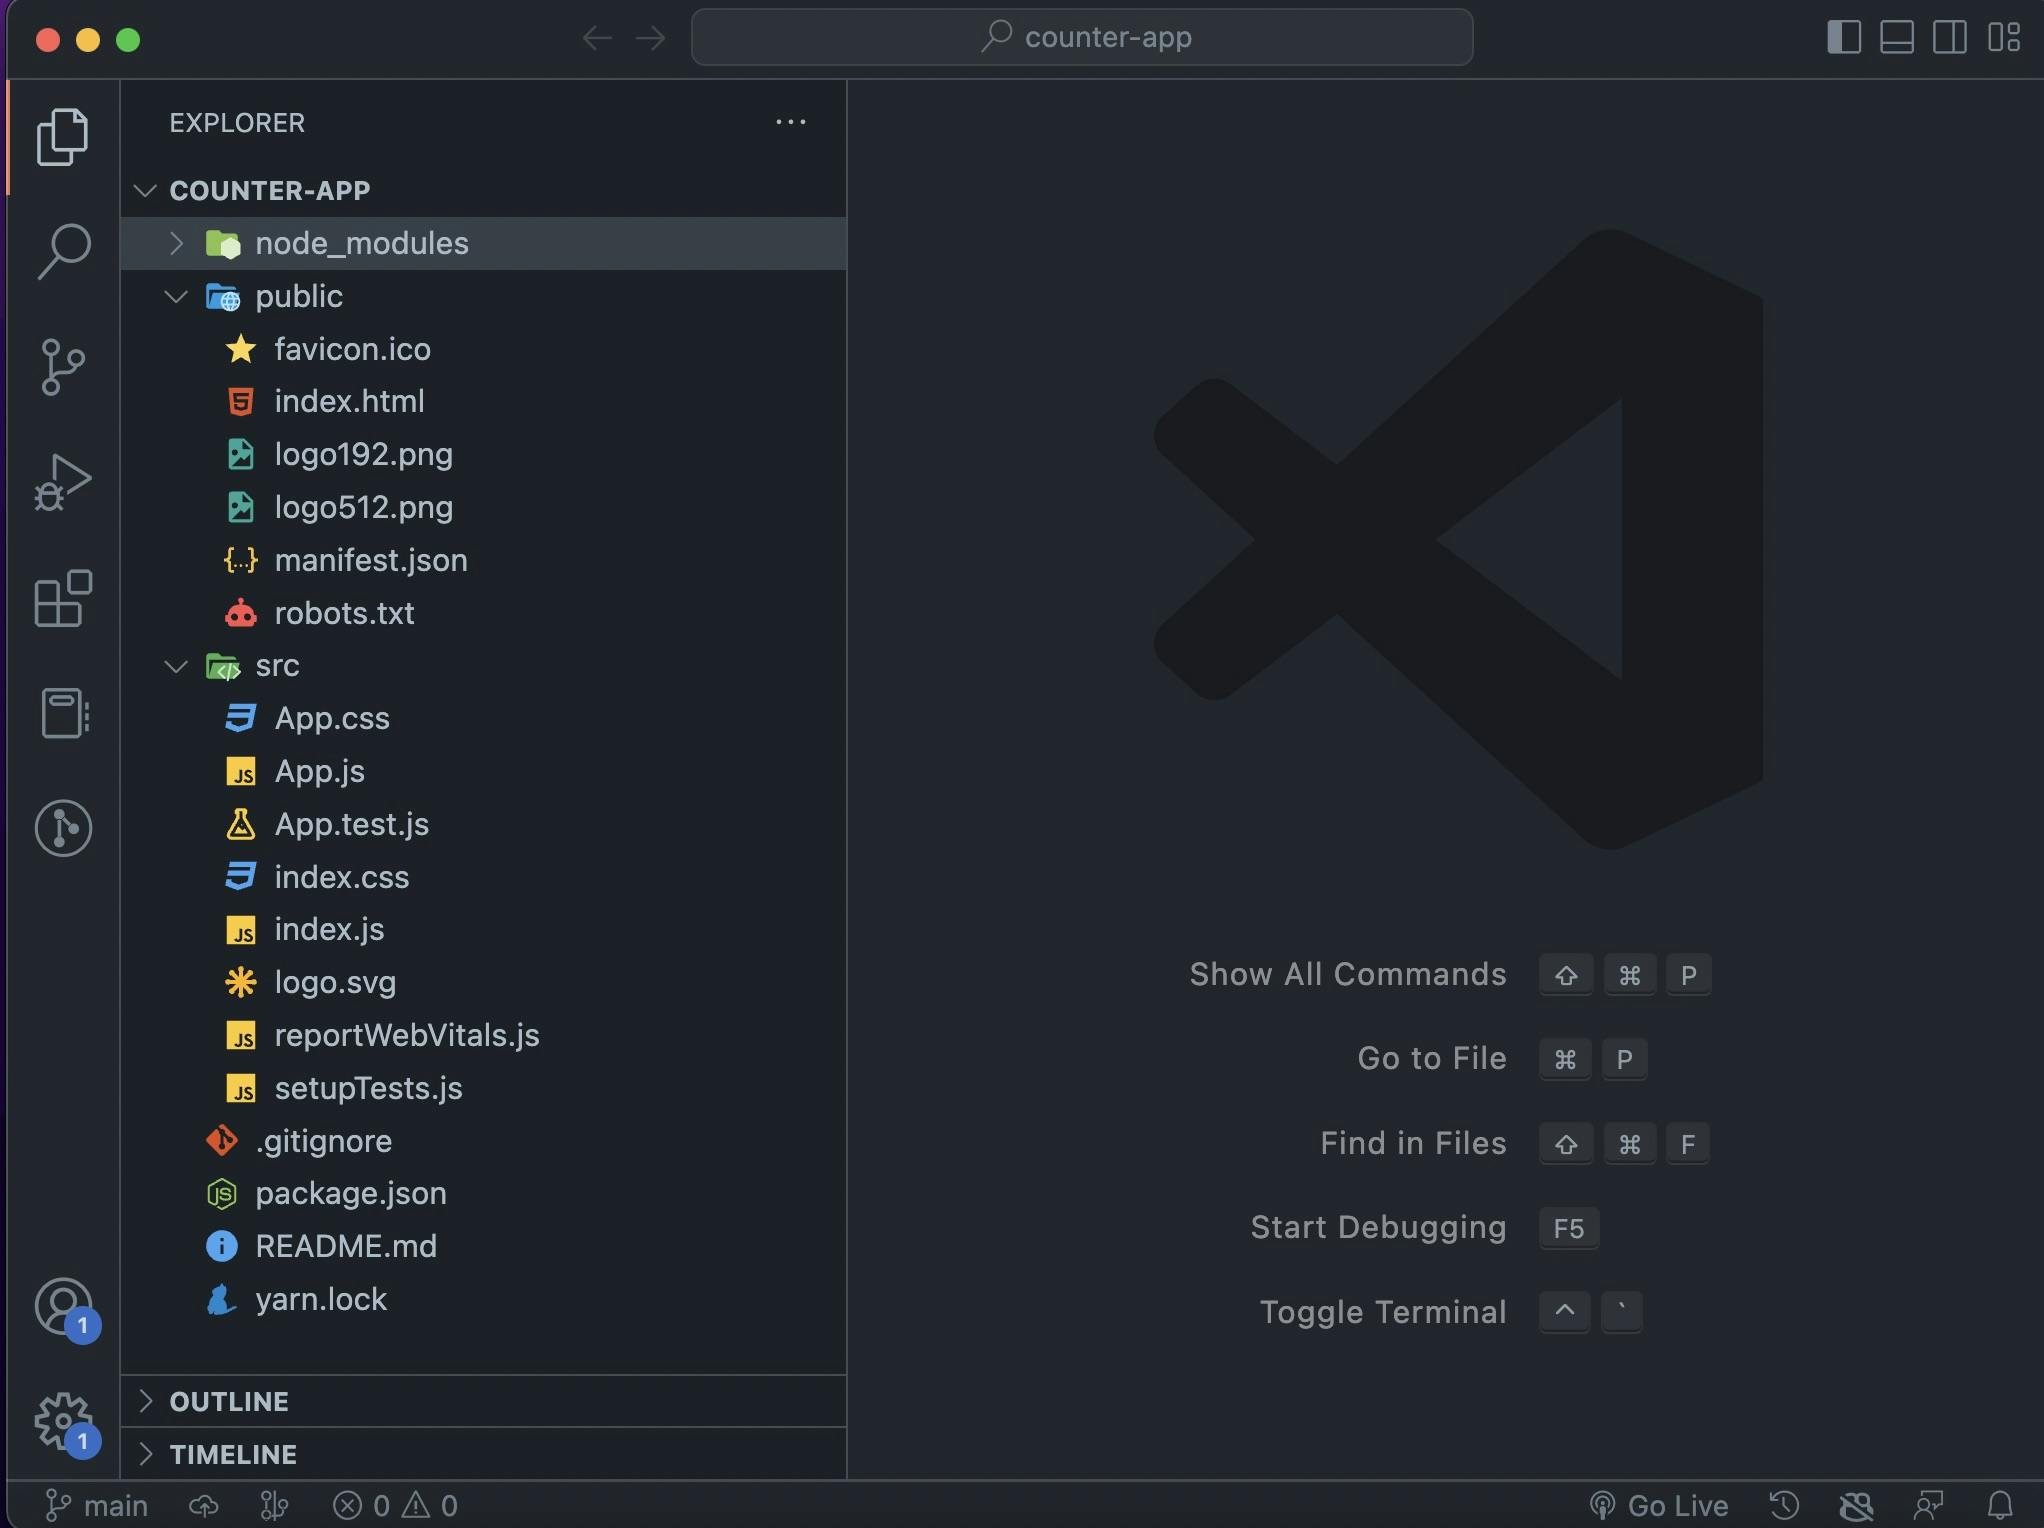
Step 4: Immediately after you are done with step 3, the below folder structure will appear in your code editor. (VS code, Sublime or others). then click on App.js
Step 5: Explanation of the method used in writing the code.
i. What does calling useState do? It declares a “state variable”. Our variable is called count but we could call it anything else, like an apple. This is a way to “preserve” some values between the function calls.
ii. What do we pass to useState as an argument? The only argument to theuseState() hook is the initial state. Unlike with classes, the state doesn’t have to be an object. We can keep a number or a string if that’s all we need. In our example, we just want a number for how many times the user clicked, so pass 0 as initial state for our variable. i.e. const [ count, setCount ] = useState(0); ............ state is stored as a number or const [fruit, setFruit] = useState("myFruit"); ..........state is stored as string or const [country, setCountry] = useState([]); ------state is stored as an array, const [todos, setTodos] = useState([{ text: 'buy food stuffs' }]);-----state is stored as object
iii. Create three function that changes the initial state i.e Increment function, decrement function and reset function.
- setCount(Number(count) + 1 ) will change our current state which is zero 0 into One immediately after the function is called.
// increment function which increment the count from zero to infinity
 function increment() {
        setCount(Number(count) + 1)
 }
- setCount(Number(count) - 1 ) will change our current state which is zero 0 into One immediately after the function is called.
// decrement function which decrement the count from zero to infinity or from current state to infinity state
 function decrement() {
        setCount(Number(count) + 1)
  }
- setCount(0) will change our current state to zero immediately after the function is called.
// reset function which reset state to zero
 function reset() {
        setCount(0)
}
Step 6: Rendering the count variable in any HTML tag element you want. We use <h1></h1> to render our state.
Calling the three functions (increment, decrement and reset function) with the onClick event handler. e.g onClick={function name} . Therefore we name our function as increment, decrement and reset.
<h1>{count}</h1>
<button className="increase" onClick={increment}>
            +
</button>
<button className="decrease" onClick={decrement}>
            -
</button>
<button className="reset" onClick={reset}>
            Reset
</button>
Congratulation on getting it to the point. In a nutshell, your code should look like the following code.
// import logo from './logo.svg';
import { useState } from 'react';
import './App.css';

function App() {
 const [count, setCount] = useState(0);

  function increment() {
    setCount(Number(count) + 1)
  }
  function decrement() {
    setCount(Number(count) - 1)
  }
  function reset() {
    setCount(0)
  }

  return (
    <div>
      <section className="heading-logo">
        <img
          className="altschool-logo"
          src="https://play-lh.googleusercontent.com/dRGIUxAXNG9IXzHz9rCMBBvb-M3uiQ5Z5NXoV52T2vkI9-THHsr4og6kx2atiP3MleE=w526-h296-rw"
          alt=""
        />
      </section>
      <div className="container">
      <h1 className="counting-heading">Counting App</h1>
      <h1>{count}</h1>
      <button className="increase" onClick={increment}>
        +
      </button>
      <button className="decrease" onClick={decrement}>
        -
      </button>
      <button className="reset" onClick={reset}>
        Reset
      </button>
    </div>
    </div>
  )
}

export default App;
Styling
Step 7: Styling: create a good styling for your JSX Markup or copy and paste the following code.
body {
  font-family: sans-serif;
  margin: 0 auto;
  padding: 25px;
  max-width: 400px;
  min-width: 400px;
  background-color: #b2dad6;
  text-align: center;
}
#root {
  background-color: rgb(248, 244, 244);
  padding: 20px;
  margin-top: 100px;
}
.heading-logo {
  display: flex;
  height: 130px;
}
.altschool-logo {
  margin-top: 15px;
}
img{
  width: 100%;
  height: auto;
}
.container {
  background-color: rgb(232, 230, 230);
  padding-top: 20px;
  padding-bottom: 20px;
}
.counting-heading {
  color: green;
  font-size: 24px;
}
.decrease,
.increase,
.reset {
  background-color: #1a7e76;
  width: 100px;
  padding: 10px;
  margin: 30px 10px 30px 10px;
  border: none;
  color: white;
  font-size: 14px;
  font-weight: 500;
  cursor: pointer;
}
.increase:hover,
.decrease:hover,
.reset:hover,
.values:hover {
  background-color: azure;
  color: #1a7e76;
}
Step 8: Use the following command to run your code and see the awesome counter app you have created in just 5 minutes.
yarn start
Conclusion
We did it! If you followed along with me through this whole tutorial, you should have a really good feel for Counter now. In short, React allows us to easily manage global state in a React application using useState Hook. We can access and update the state.
I hope you enjoyed this article! It was a lot of work to put together a complete demo applications and run through the whole thing here, and the article ran pretty long a little bit, but hopefully this is your one-stop shop for learning all beginner and intermediate React useState concepts in creating counter app.
Please let me know what you think and share the article if it helped you out.